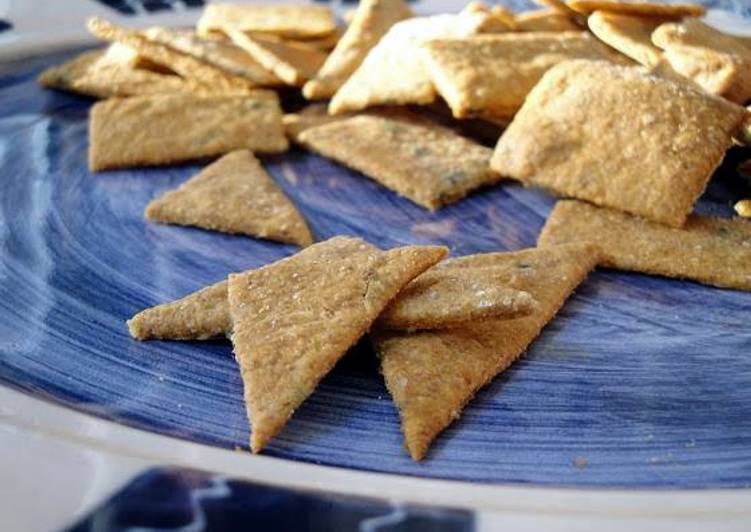
Wheat Thins.
 You can Have Wheat Thins using 8 ingredients and 6 steps. Here is how you achieve that.
Ingredients of Wheat Thins
- Lets Go Prepare 1 1/4 cup of whole wheat flour.
- It's 1 1/2 tbsp of sugar or honey.
- What You needis 1/2 tsp of salt.
- It's 1/4 tsp of paprika.
- It's 4 tbsp of butter.
- What You needis 1/4 cup of water.
- It's 1/4 tsp of vanilla.
- What You needis 1 of salt for topping to taste.
Wheat Thins step by step
- Combine the whole wheat flour, sugar, salt and paprika in a medium bowl. Using a pastry blender or two knives, cut the butter thoroughly into the dry mixture until it looks like large crumbs, no bigger than a pea. Some people use a food processor to cut in the fat..
- Combine the water and vanilla in a measuring cup, plus honey if using, and add to the flour mixture. Mix well until combined and dough forms, but only as long as necessary for the most tender crackers..
- Use parchment paper, a lightly greased cookie sheet, or an ungreased baking stone. For crackers, I would HIGHLY recommend using a baking stone. I roll the dough right out on the stone or mat, after flouring it lightly, and bake them. Yep, right ron the stone. That way I don’t have to worry about rumpled crackers as I move the fragile dough..
- Only use one fourth of the dough at a time. Cover all your surfaces with flour and roll the dough as evenly as you can. You might flip the dough to make it easier to roll, but I don’t always have to. Keep rolling until the dough is as thin as humanly possible without tearing. Use a pizza cutter or sharp knife and cut the dough into squares or triangles, about 1 1/2 inches each. Fork pokes make them look extra authentic. If you want all beautifully square crackers, you can trim the edges square. I skip the trimming and just deal with weird shaped crackers. Those go to the toddler right away!.
- Make sure your oven is preheated to 400°F. If you have used a mat or parchment paper, just slide it onto a cookie sheet. If you don’t have either, you’ll have to move each cracker individually. Sprinkle the squares lightly with real salt, if Repeat with the remaining pieces of dough. Bake the crackers, one sheet at a time, until crisp and browned, 5 to 10 minutes. (If you want to do two trays at once, you can put one on top and one and bottom and switch them halfway through the baking time.) If some of the thinner crackers on the edges brown too quickly, remove them and return the remaining crackers to the oven to finish baking. These crackers bake quickly, so watch them closely –even 30 seconds can turn them from golden brown to toast!.
- You want them to be almost crispy, but not totally breakable to deem them “done”, because they will crisp up a bit as they cool. You’ll learn after a tray or two the difference between “too soft” “done” and “oops”. They’re still tasty when they’re soft, just not so cracker-y. Remove the crackers from the oven and cool on the pan or on a rack; they cool quickly. These crackers will stay crisp for many days, but are best stored in airtight containers. For extra crispy crackers, If you have space and baking stones to suffice, simply turn the oven off a minute or two early with the crackers still inside. They’ll crisp up just lovely as it cools down..